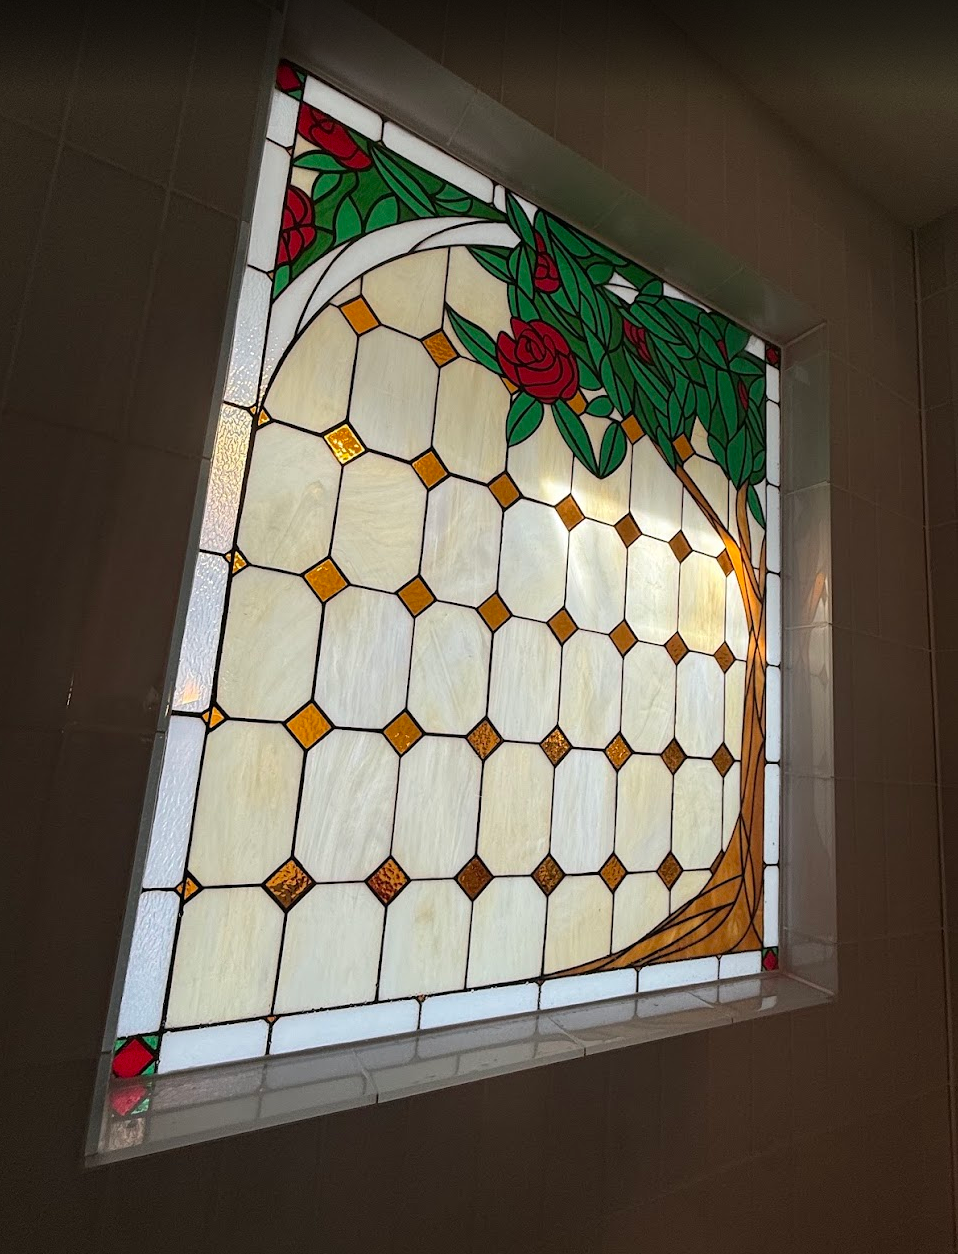
When I bought this house, Elsa and I mused about replacing this huge, stupid, ugly, boarded-up window lying smack-dab in the middle of the shower wall.
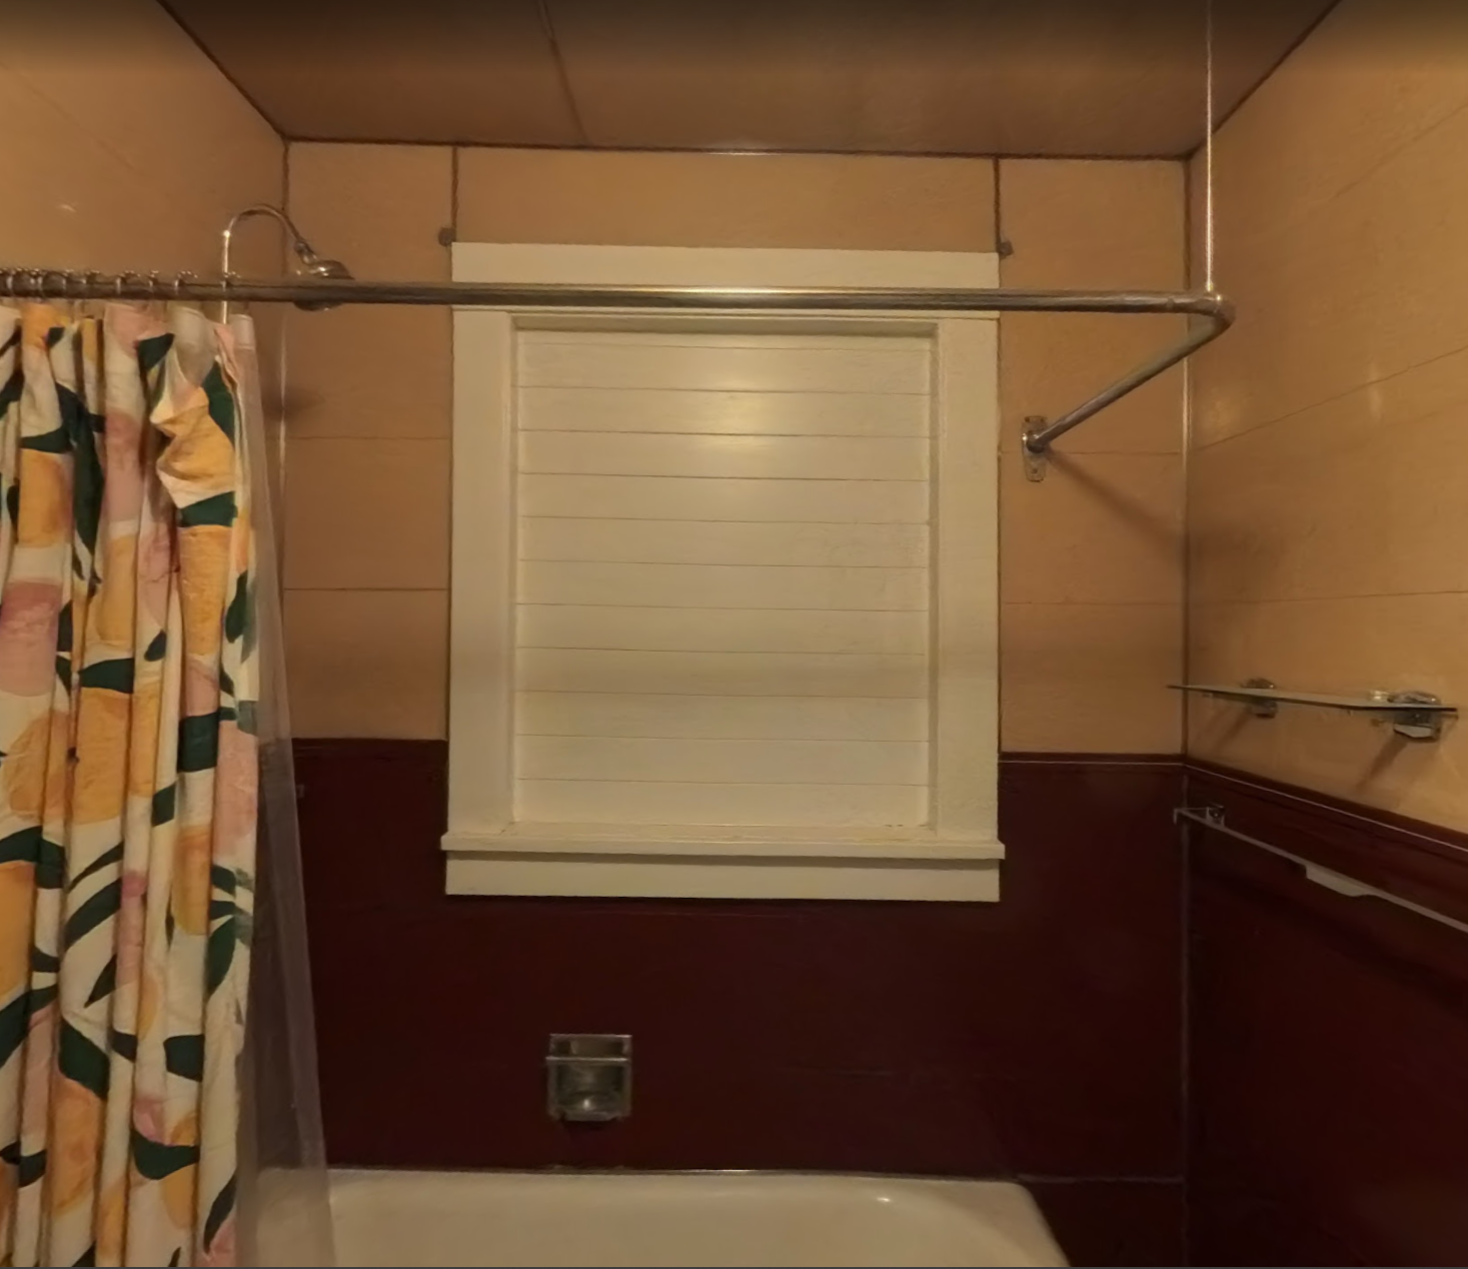
The window was covered when the previous owners made an addition to this side of the house. Guess they didn’t want to have the shower looking straight into their new den.
This had the delightful side effect of completely shrouding the only available source of natural light in the bathroom. Combine that with the dark red and bile-tinted beige vinyl of the bathroom and I had myself a perfectly bleak bathroom experience.
Elsa had half-joked in previous years about how cool it would be to have a huge stained glass window right there in the shower. Always one to jump on a new artistic hobby, my gift to Els that Christmas was a stained glass kit.
for anyone interested, this kit is all you need to get started (and then some). For grinder, I chose the “Techniglass THE GRINDER”
In the Summer of 2025, Elsa and I renovated our kitchen and bathroom (which I’ll try and detail in another post). By this time, we had committed to challenging ourselves to fill that space with our own design of a stained glass window. Had we any experience with stained glass yet? Of course not. But we had the audacity. How hard could it be?
Getting our Feet Wet
We figured it might be best to have finished one piece before we set our sights on the 3x4 foot window. One trip to the glass store (shoutout NW Art Glass in Redmond!) and an evening craft night later, we had our first pieces done.
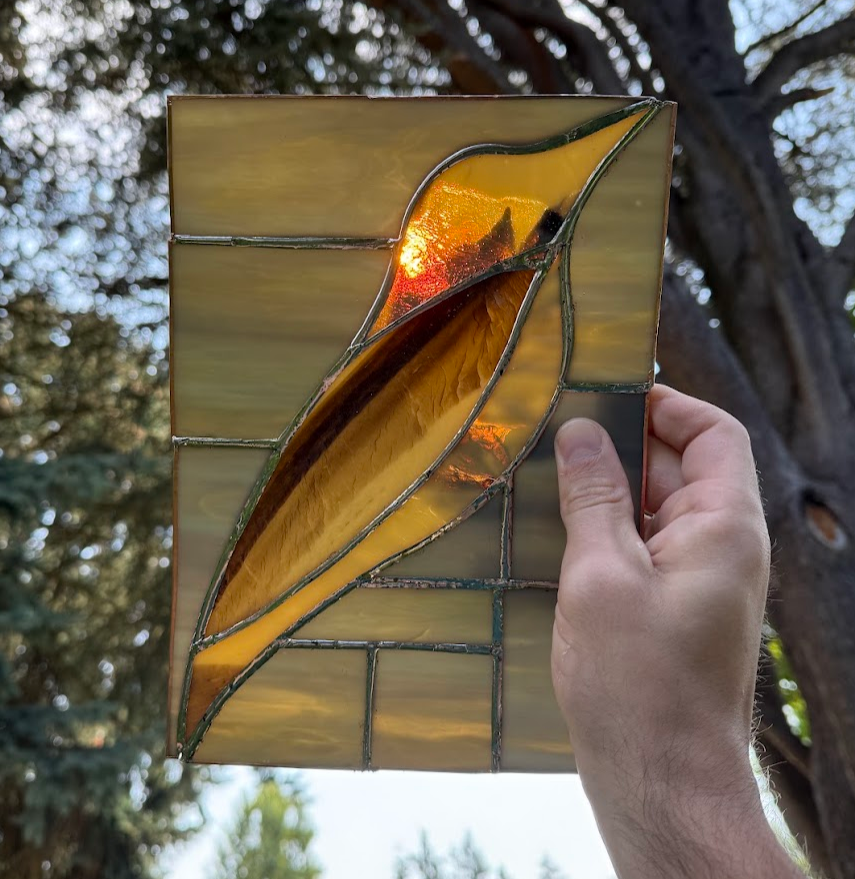
With our egos adequately stroked, we set out on designing our window.
The Design
We spent an hour or so sketching and comparing thoughts in the studio. We knew we wanted a floral design that paid tribute to the several camellia trees surrounding the house. From some reading online, a window this size would be prone to sag or bending with years of gravity applying gentle but constant force to the joints. To mitigate this, we’d need a pattern that gave itself some serious structural support with long, straight, horizontal lines. Between these, we could add copper stripping for structural reinforcement between the solder lines.
Our initial sketches turned out pretty similar overall.
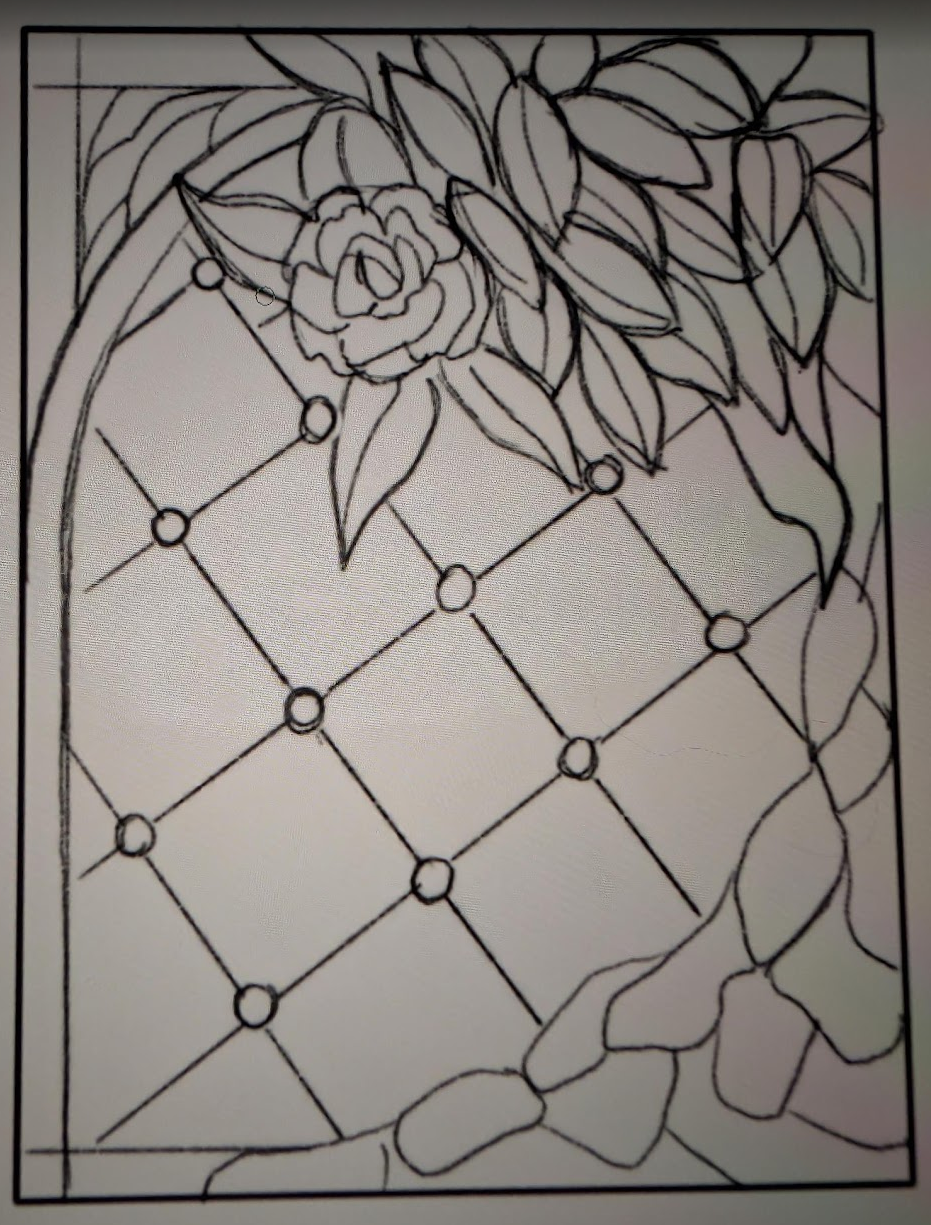
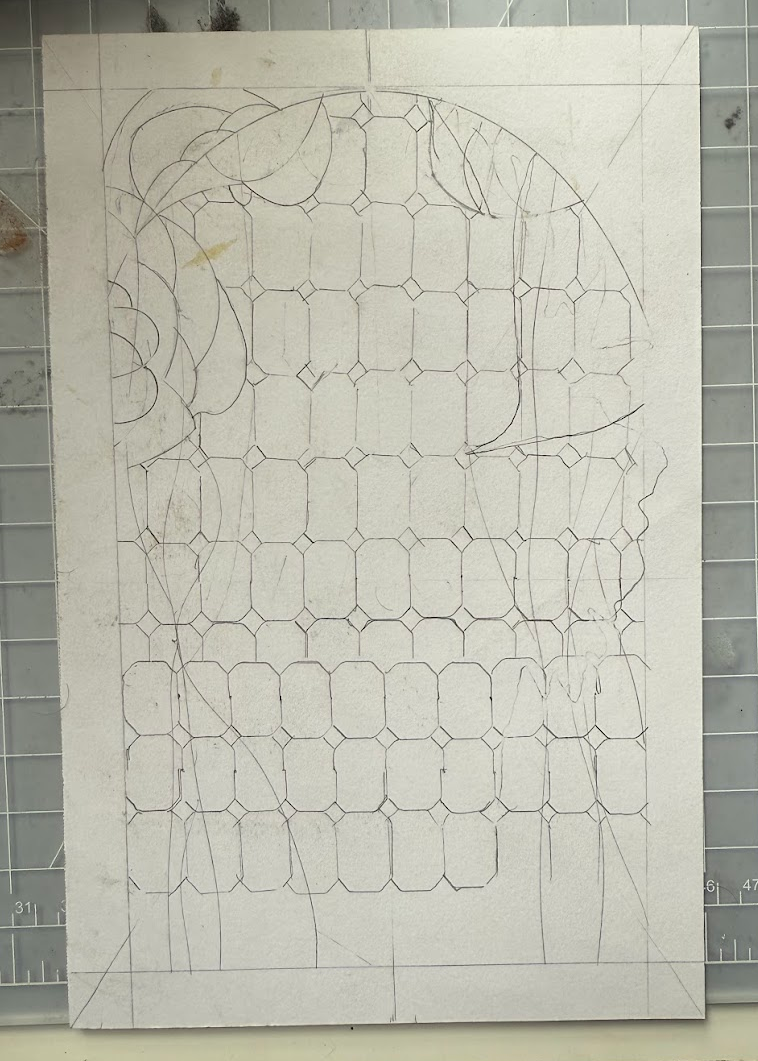
Elsa and my sketches, respectively
We combined elements of the two, using the hexagonal pattern from mine and the camellia design and arch from Elsa’s to create a first draft vector graphic.
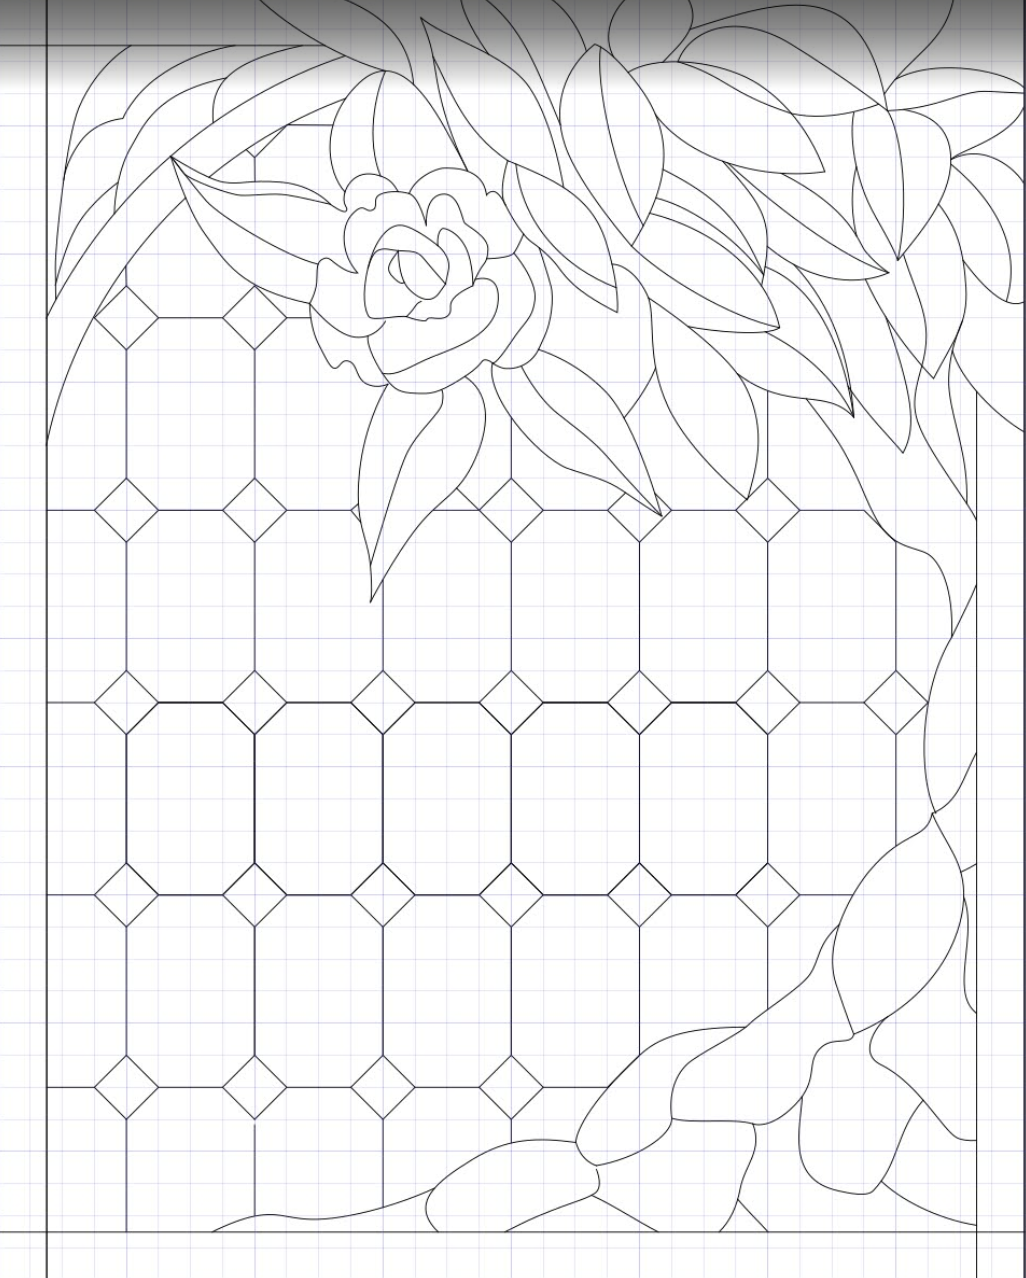
After many tweaks and revisions, we settled on the design and I threw it into Blender, turned each piece into a 3D object, and played around with materials until we had a selection of colors and textures we loved.
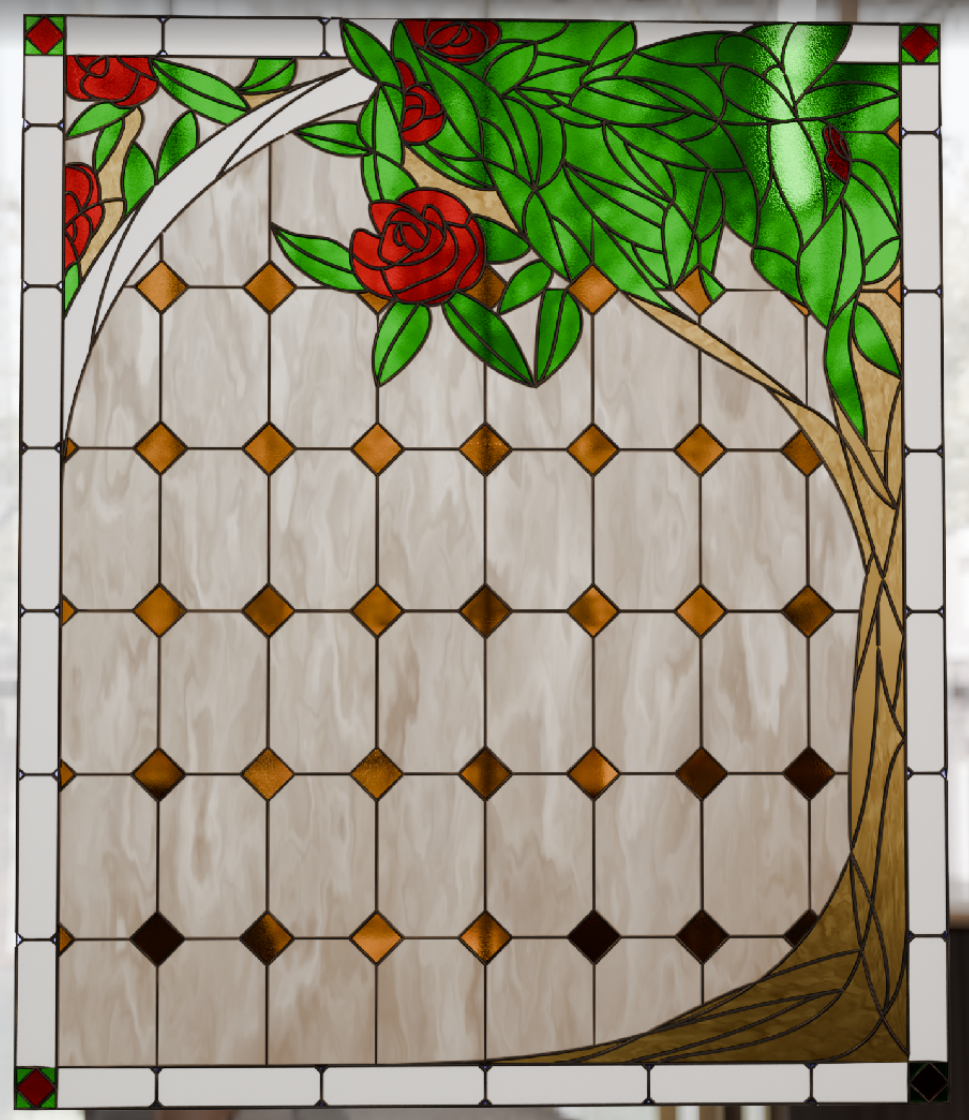
A render of how it could look from Blender
Printing the Pattern
There were several benefits to having a 3D model of each piece. It allowed us to calculate the minimum surface area in glass we’d need for each color.
Additionally, I thought I might have found a solution to an issue we ran into during our first piece.
We didn’t love how the water from the grinder would wet our paper-based pattern pieces, ruining them and making it tough to get each piece as perfect as we needed.
We also knew we’d need to keep our margin of error on each piece as small as possible to keep our window within the measurements of our window hole. With over 300 pieces, every milimeter of error could add up until we were entire centimeters over or under our target dimensions.
Our solution was to 3D print a thin plastic version of each piece to use as templates. Then we could puzzle them together and replace them with the cut and ground glass pieces as we go.
If for some ungodly reason some masochist wants to follow in our footsteps, here are all the final stl files used to print the pattern pieces.
Cutting and Grinding
Since half of the house was demolished for the renovation and we had an entire kitchen’s worth of appliances filling up the garage, our workstation was relegated to the (uncovered) courtyard.
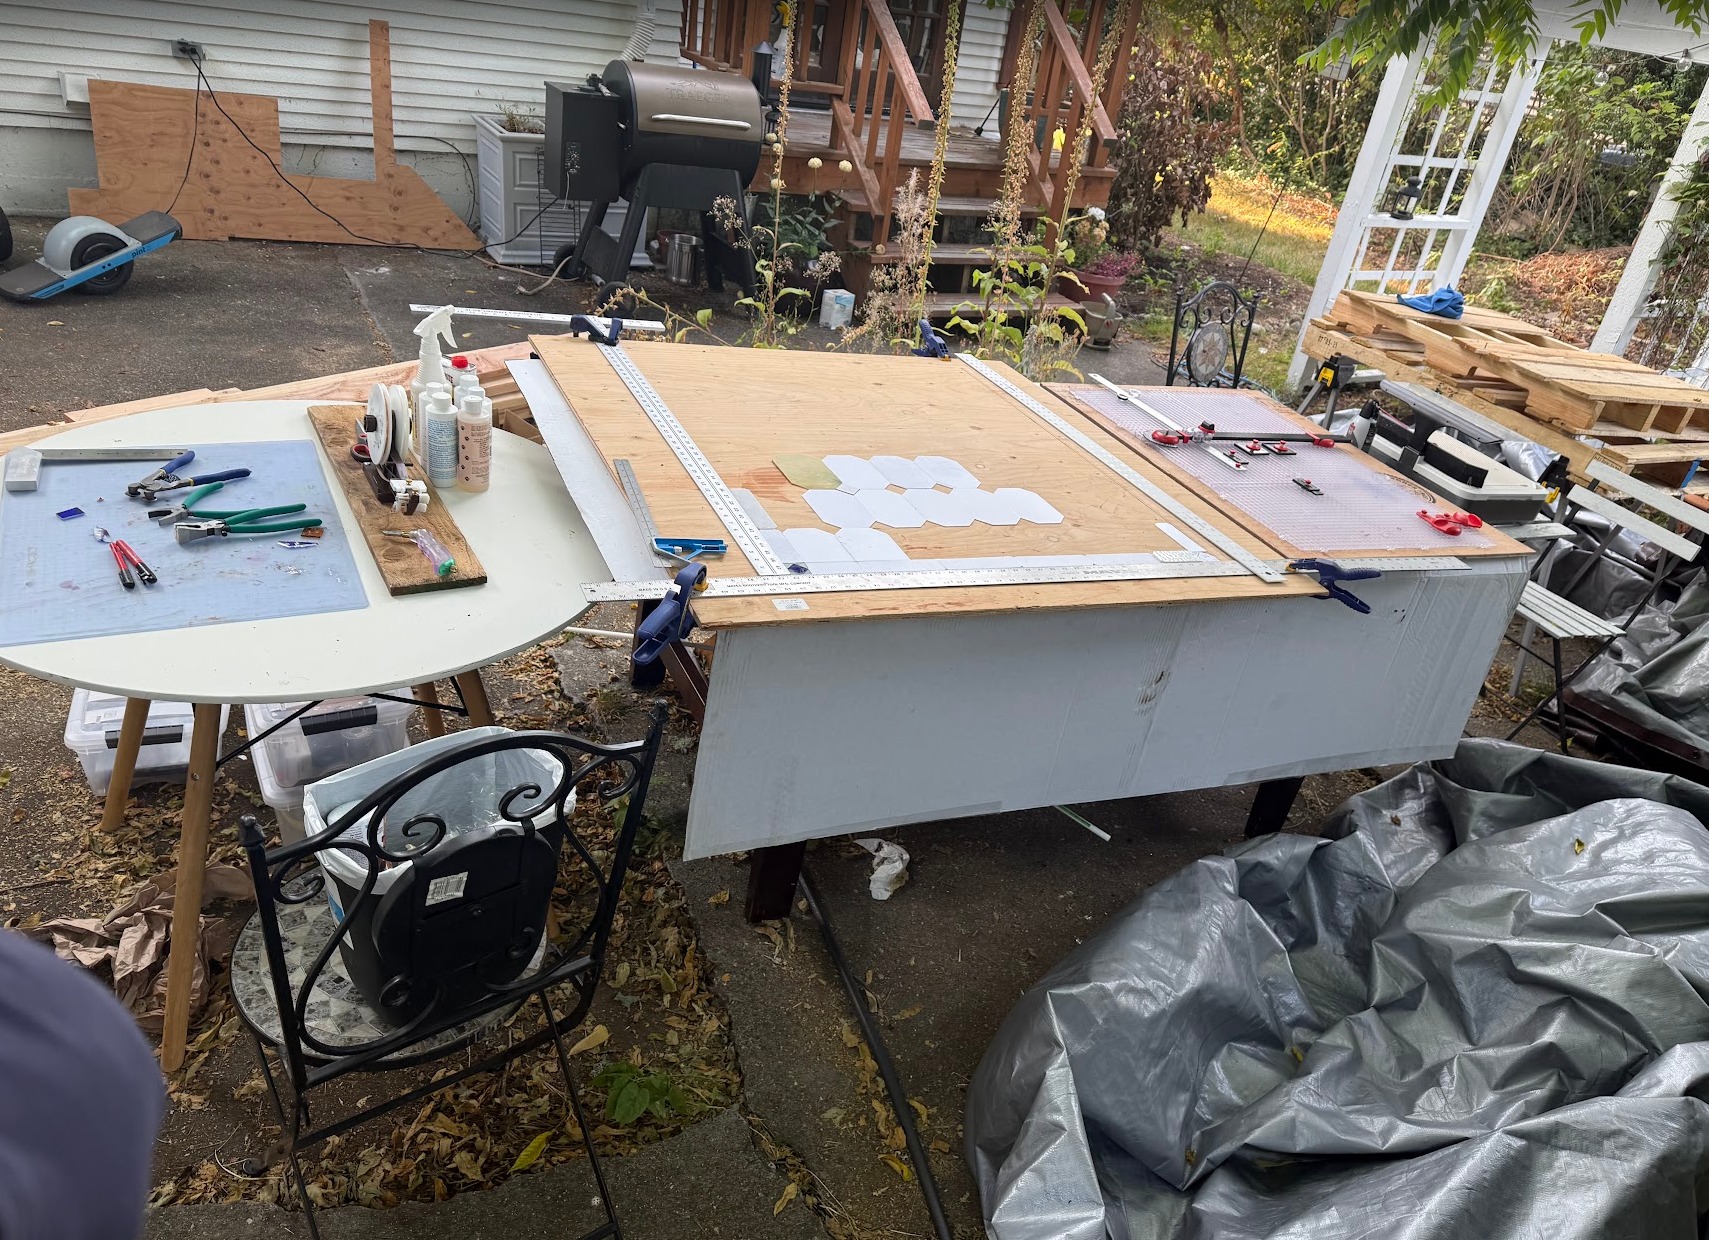
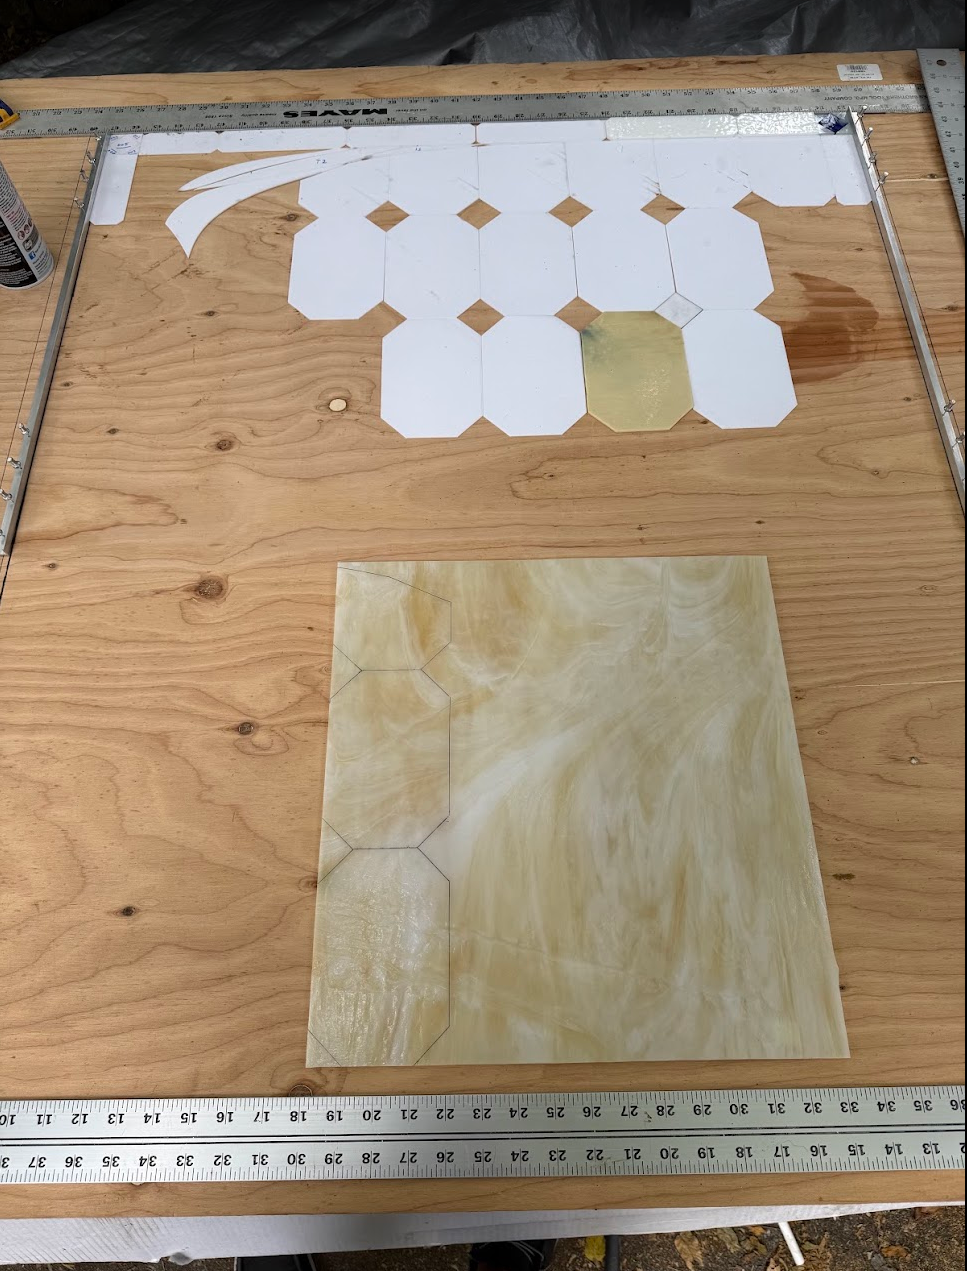
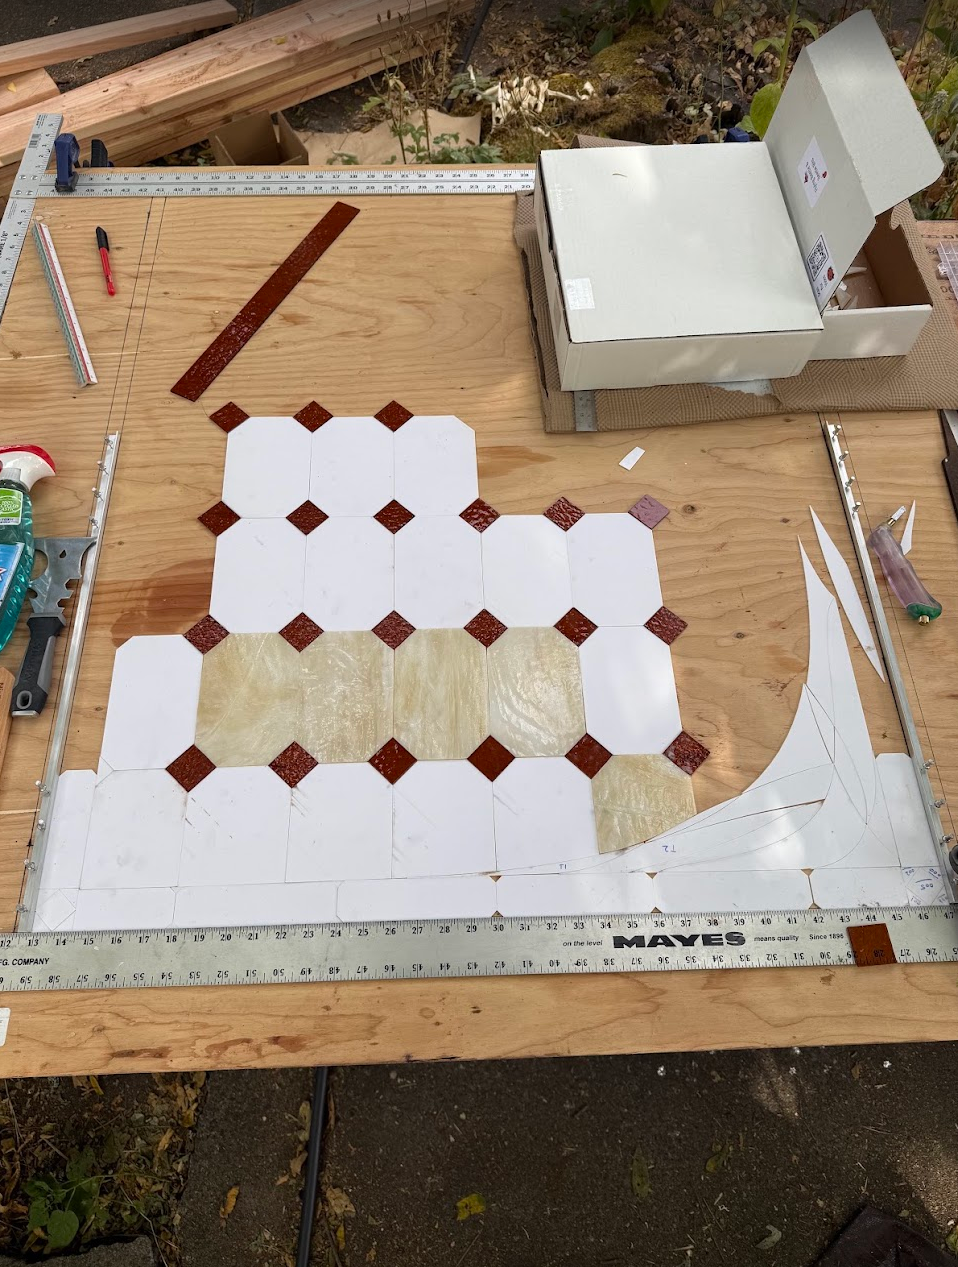
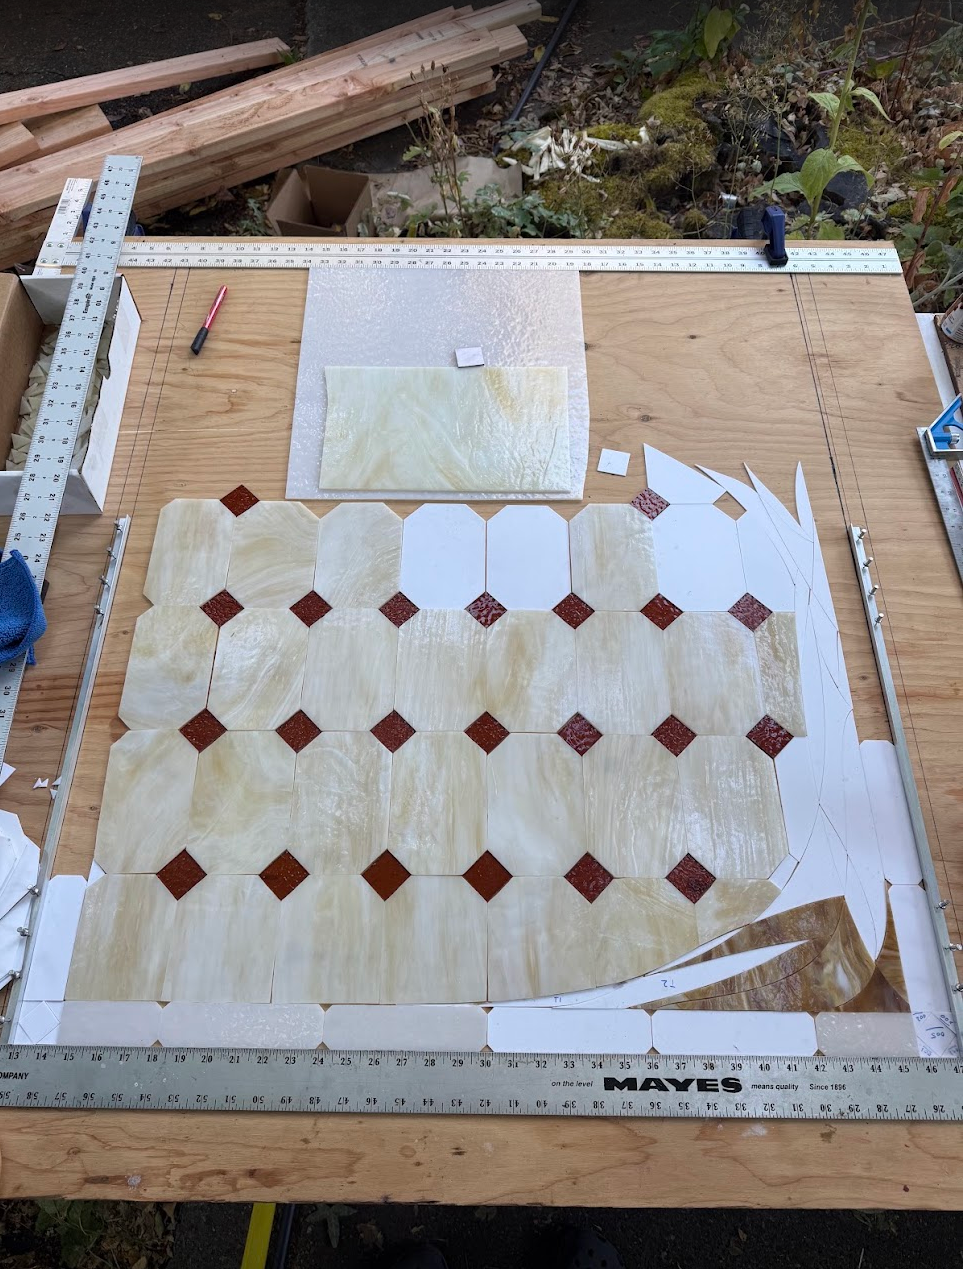
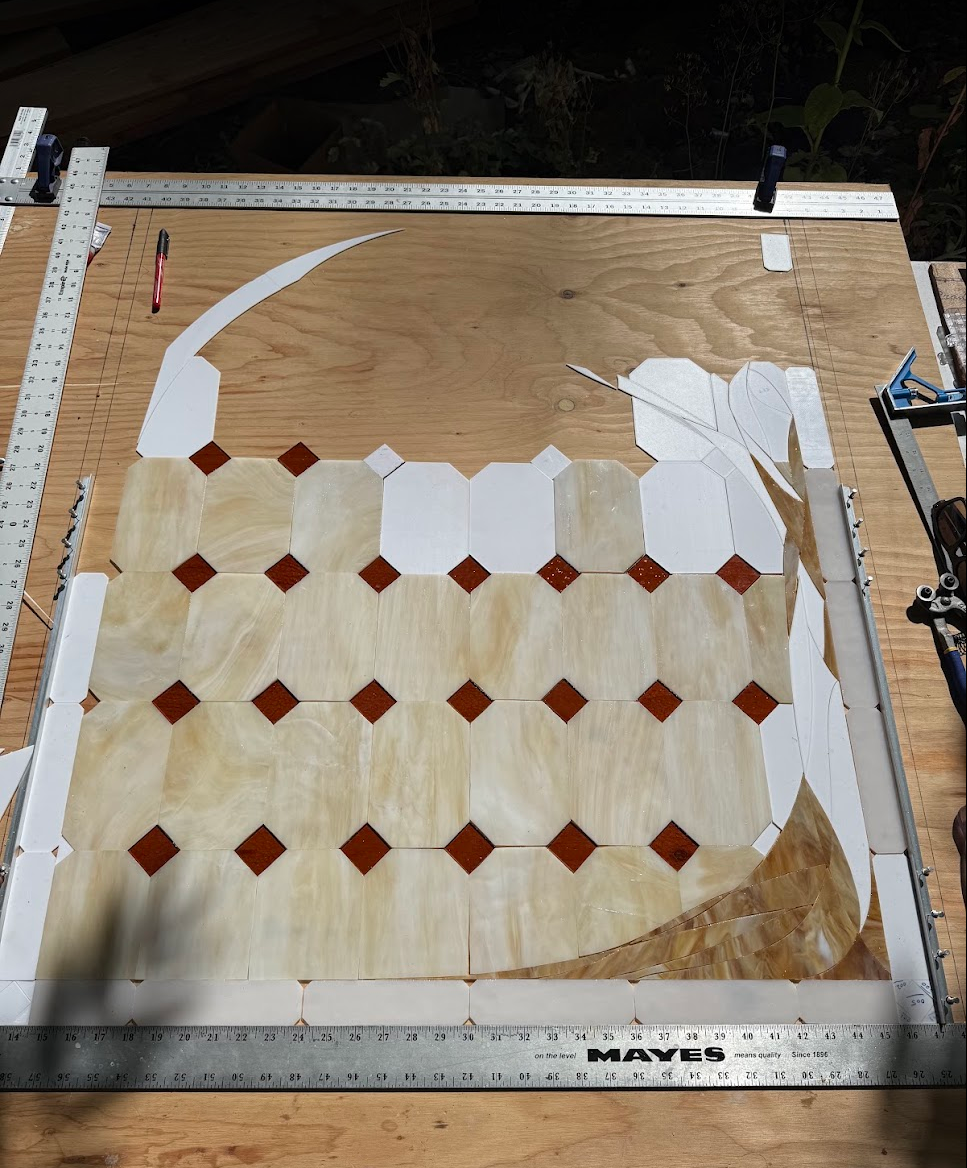
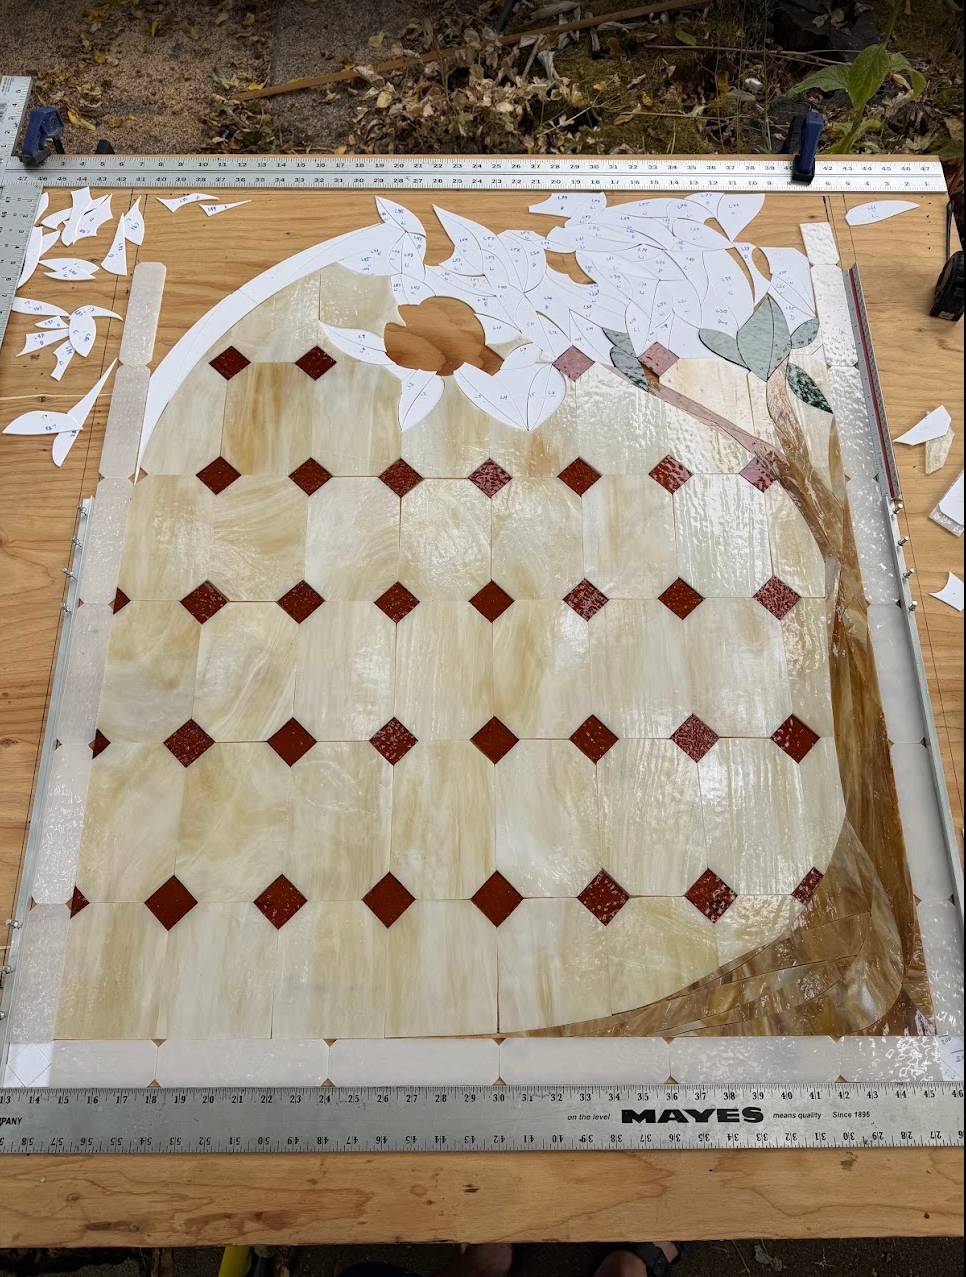
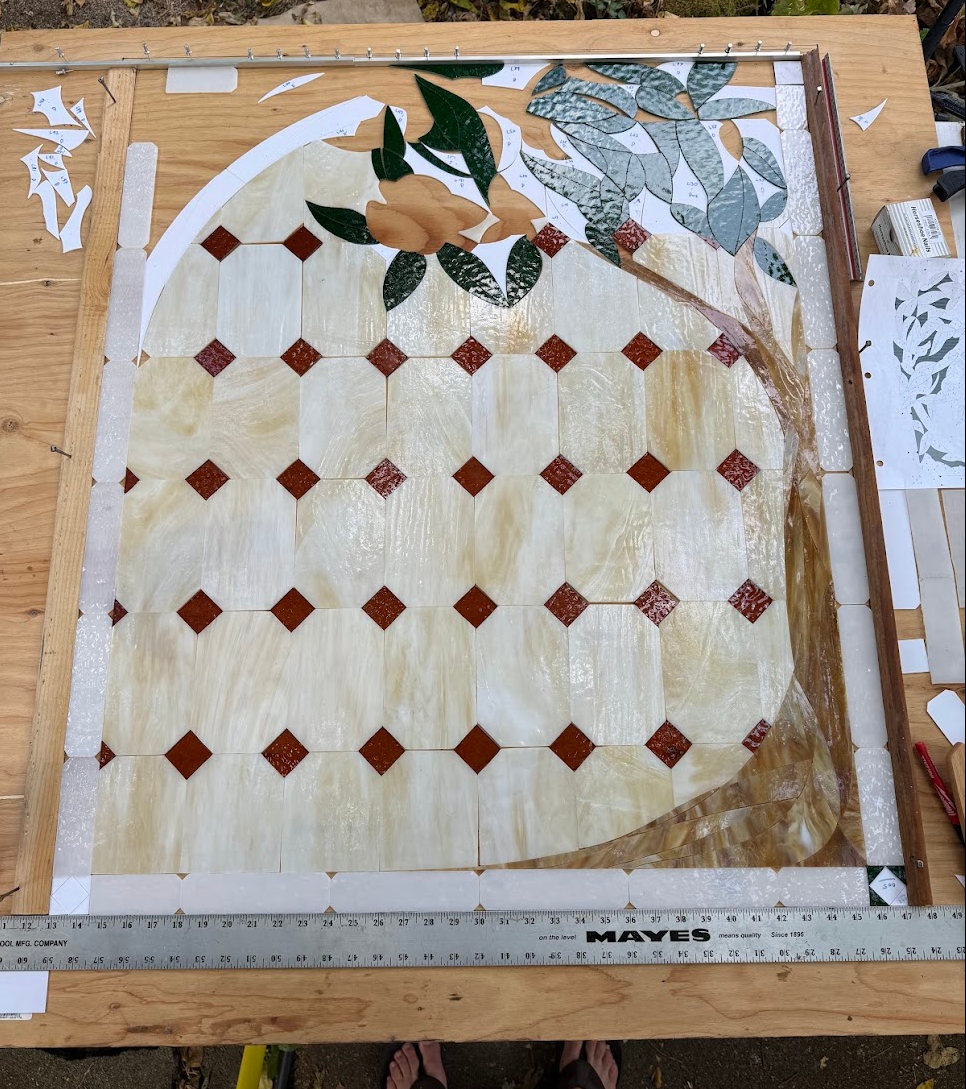
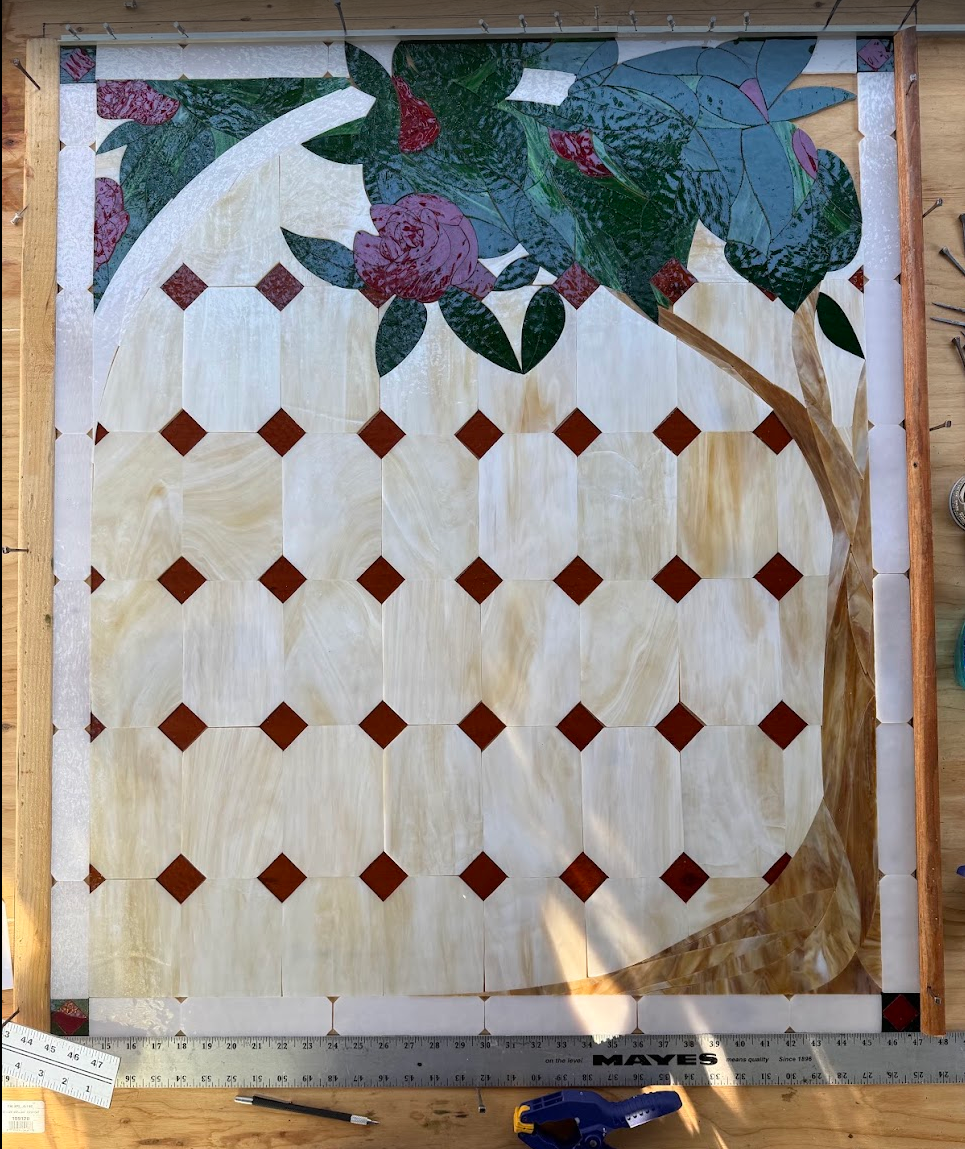
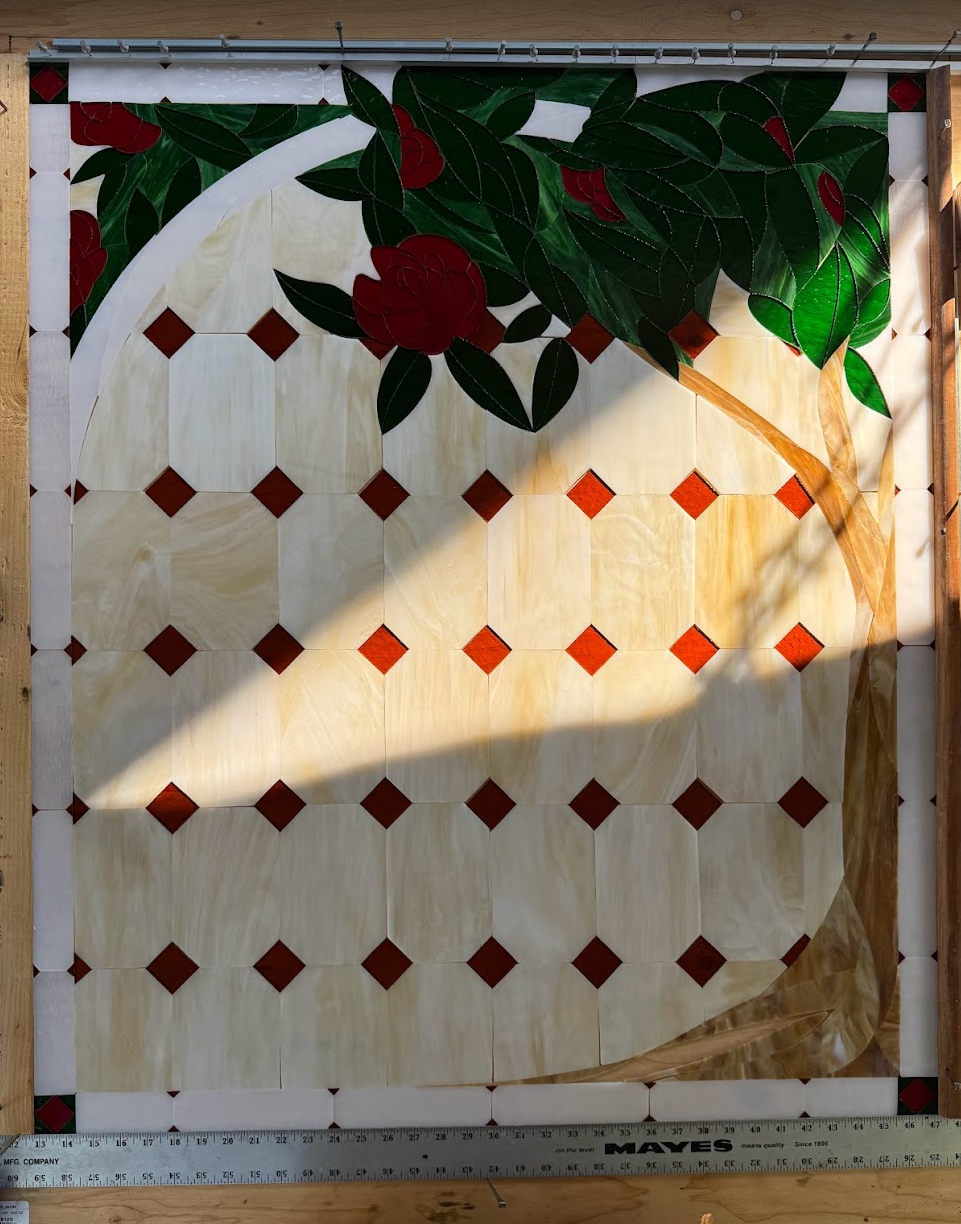
This next part took the longest of all so I’ll keep it mercifully short and just show some photos: Elsa did the cutting, I did the grinding. It took about 8 months’ worth of weekends.
Copper Foiling
Arguably the worst part of this hobby…
Foiling each piece was tedious and time-consuming, but thankfully didn’t need to be as laborious and precise as the cutting and grinding.
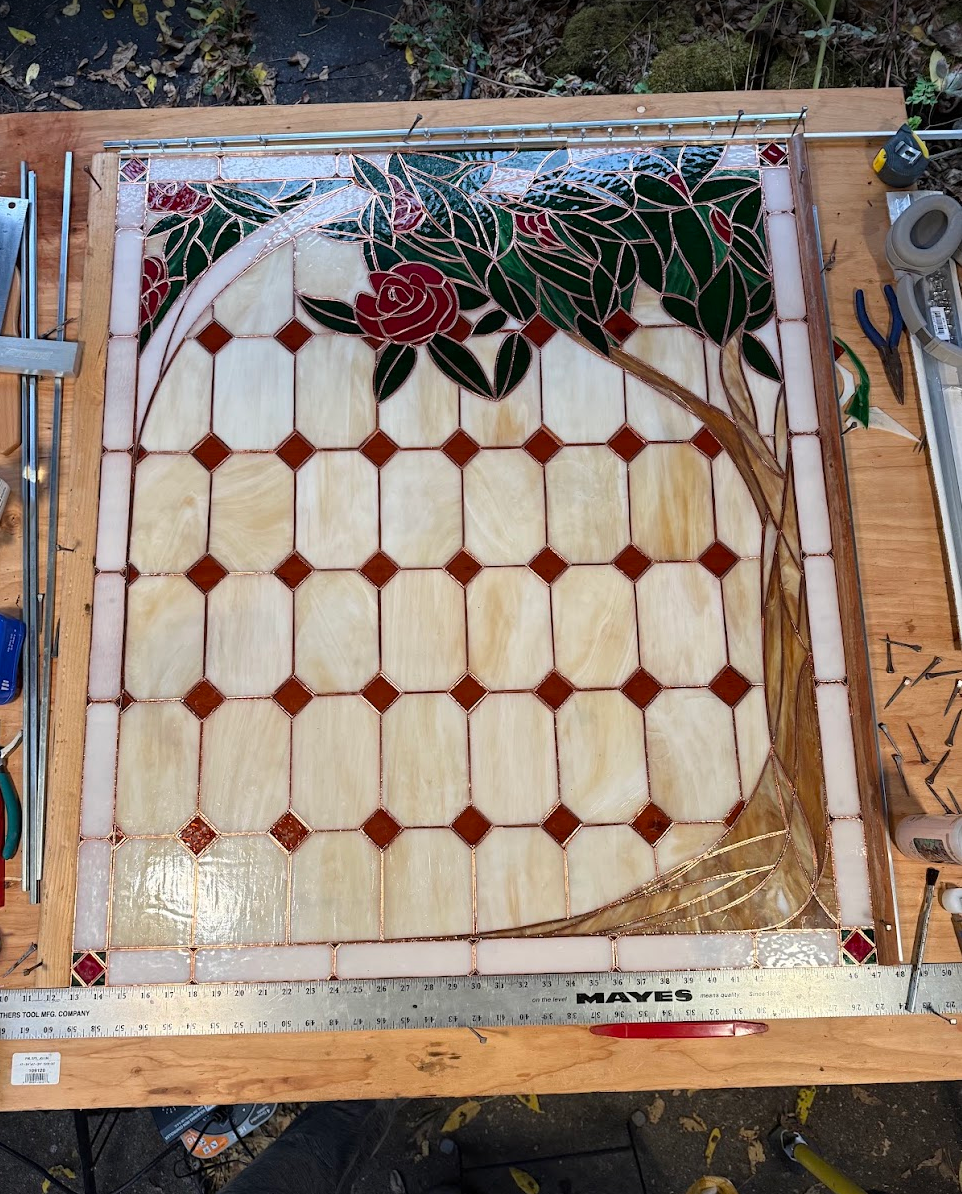
I have nothing more to say about this process. I don’t want to talk about it.
Solder and Patina
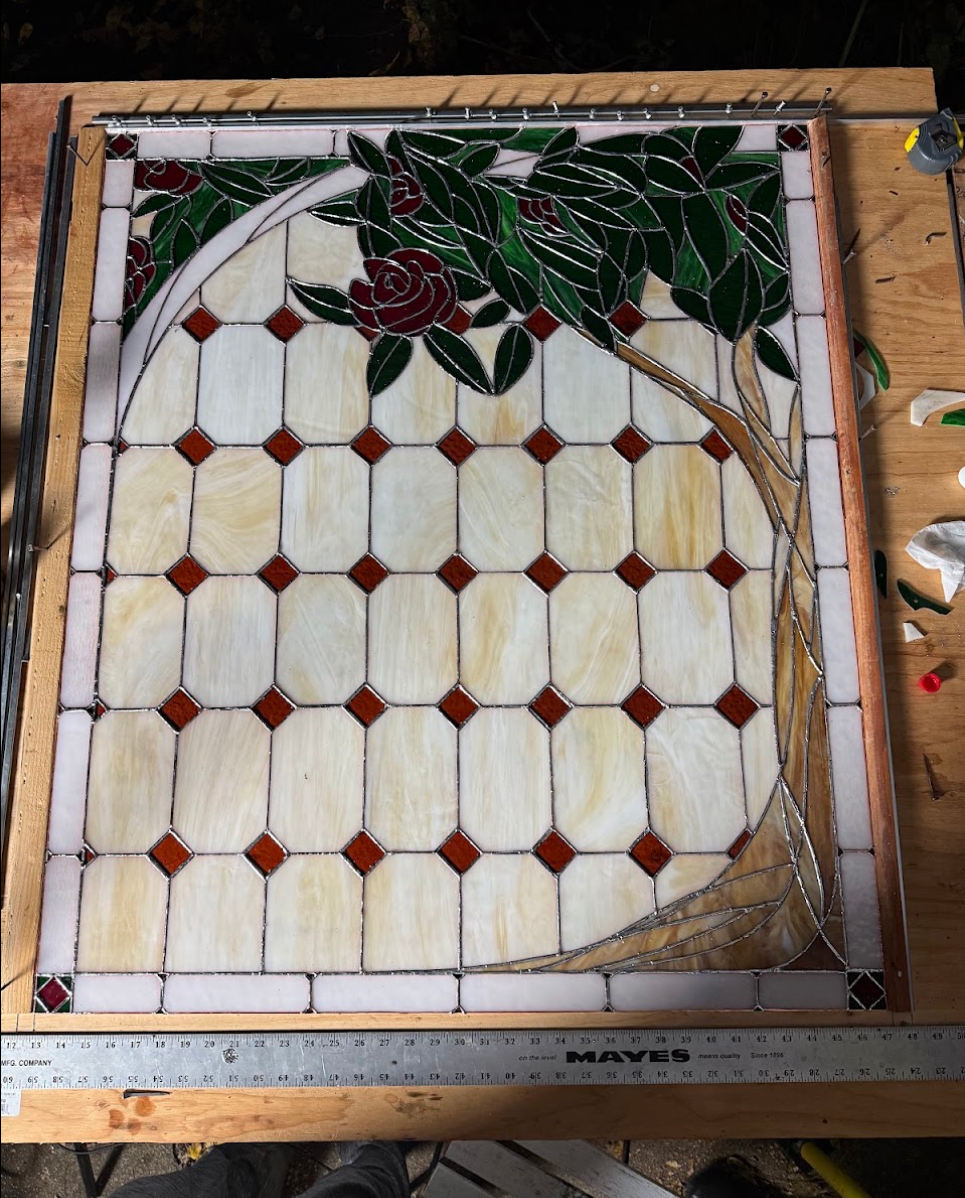
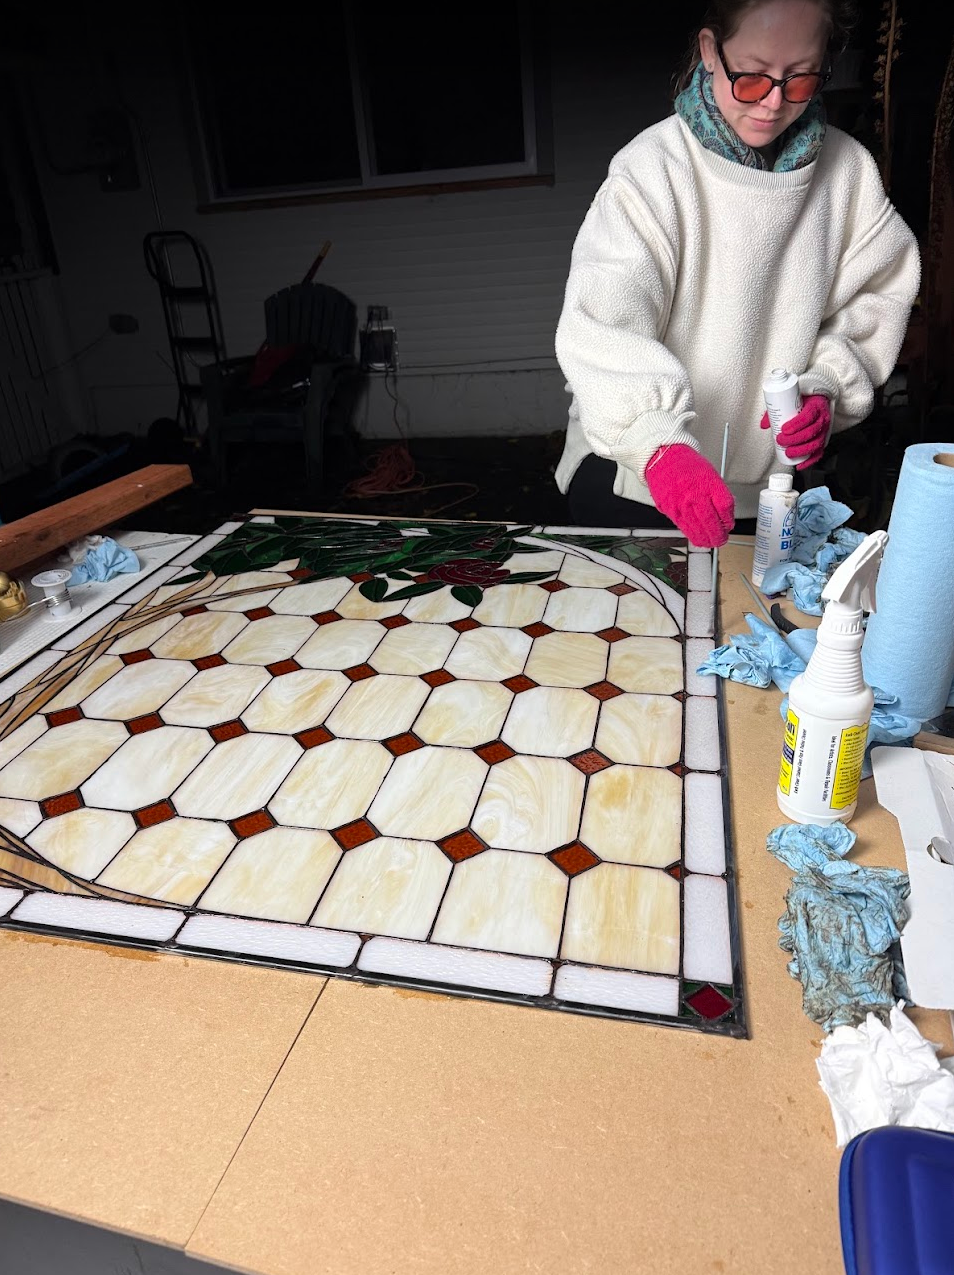
We were cutting it down to the wire, so to speak. Our window hole (that can’t be the right term for it) was close to complete, we had pushed right through fall and into the cold dark winter, and our next step couldn’t be left half-finished with days between working sessions.
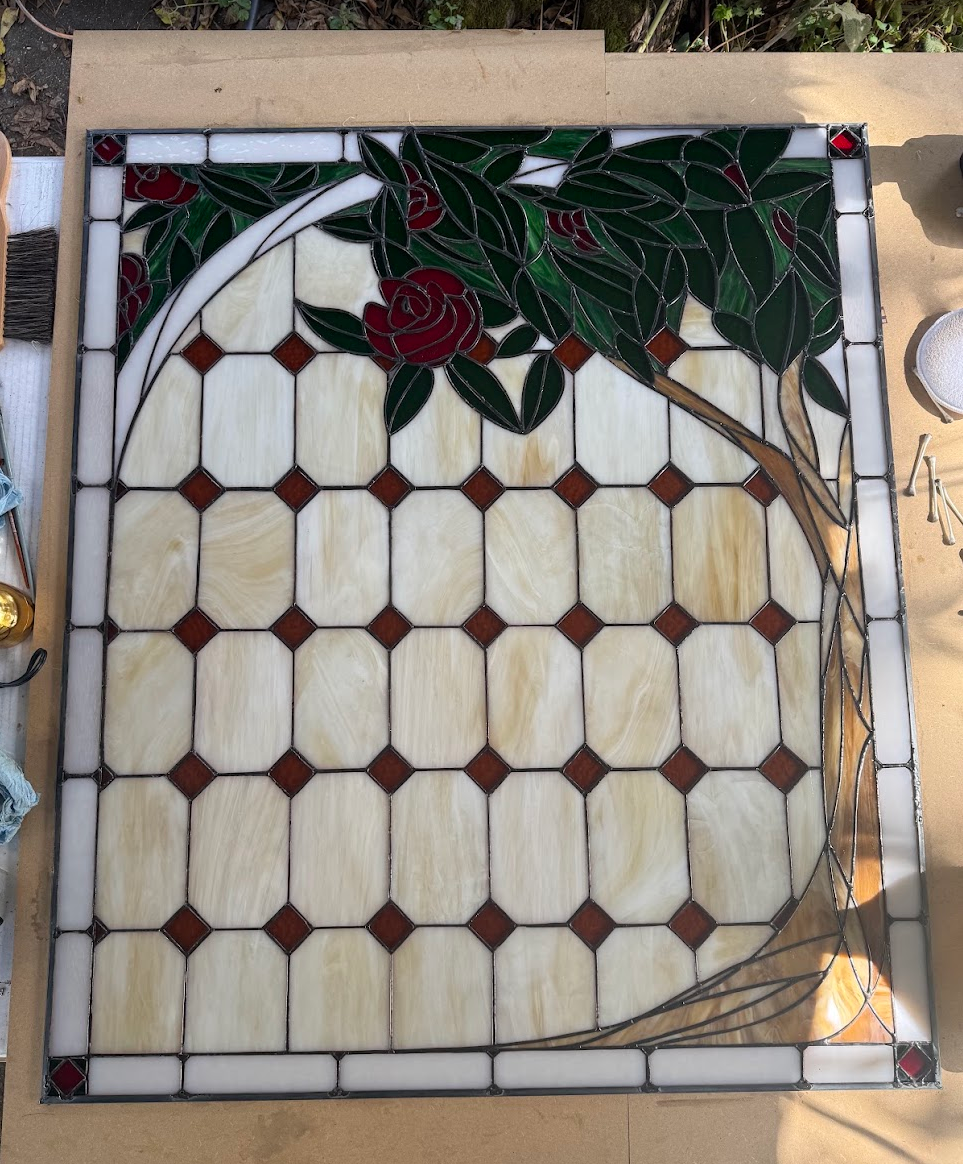
Since I had a touch experience soldering (electronics), Elsa applied the flux and I followed up with the soldering. This was a weekend of 12 hour shifts and late late nights bundled up under photography lights. Totally worth it.
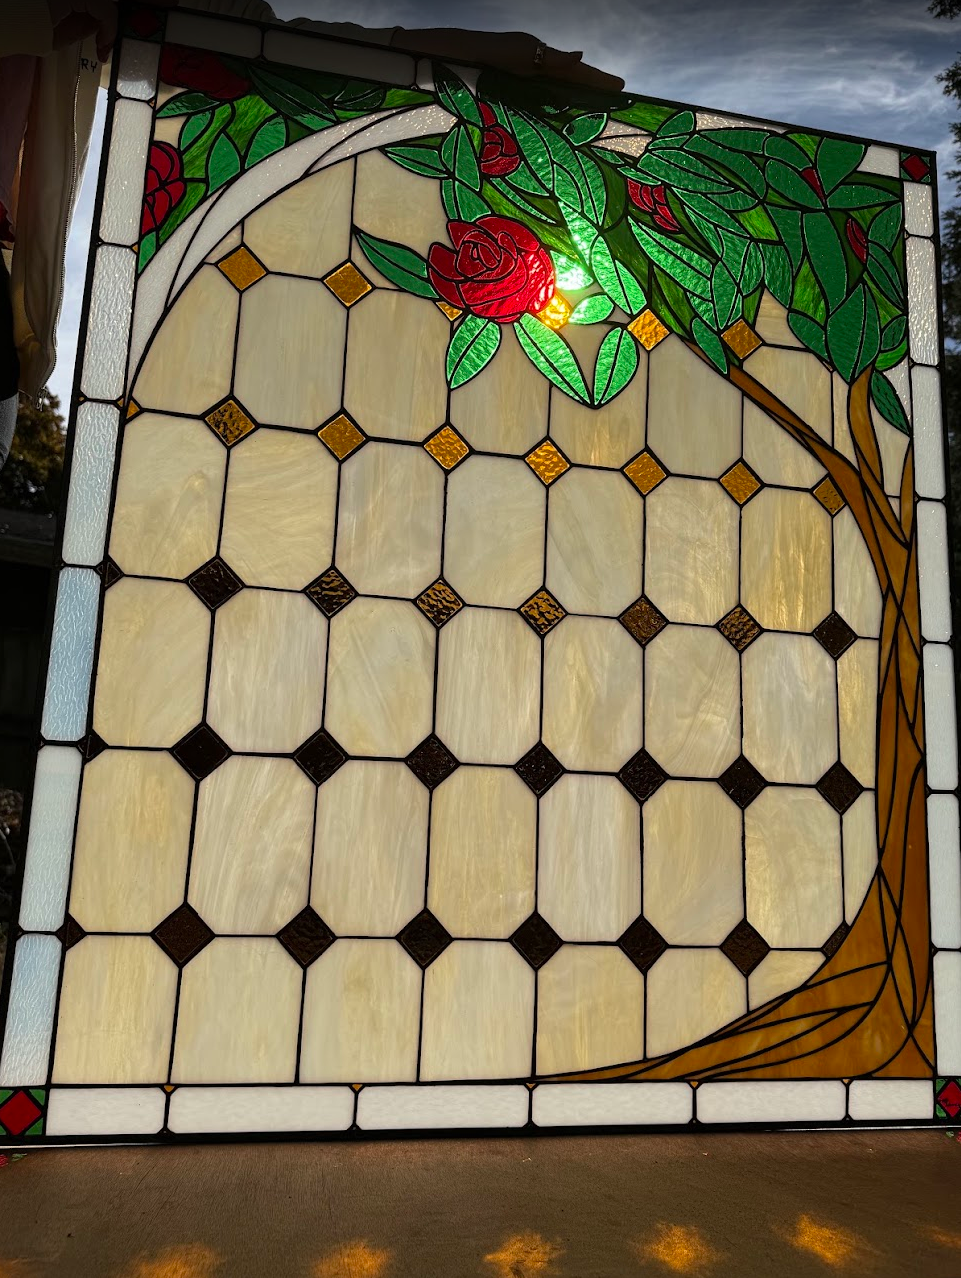
Protection
With the assembly, soldering, and patina finished, we applied a polishing and protecting wax, and sent it off to a local glazier to sandwich the piece between two panes of tempered glass. This would preserve the piece and shield it from the moisture and heat of the shower. It also ideally will have the benefit of keeping it from bowing over the years.
Installation
Finally it was time to install!
Our lovely contractor Eric was able to fit it right in perfectly and secure it, then our talented tile guy Vasil put in the finishing touches.
I still can’t believe we did this. I fear the novelty will not wear off.